Setting up your own DIY red light therapy is simpler than you think! Start by gathering the vital tools: a sturdy frame, quality red light bulbs, and a dependable power source. Confirm your setup allows you to maintain a distance of 12 to 24 inches during sessions. Regular use—about 10 to 20 minutes several times a week—can maximize benefits for your skin and assist in pain relief. Keep exploring to discover all the steps and tips for a successful setup!
Key Takeaways
- Choose high-quality lights that emit the specific wavelengths needed for effective red light therapy.
- Build a sturdy frame or stand to securely hold the lights at the ideal distance.
- Ensure a reliable power source and consider using a timer for convenience during sessions.
- Maintain consistency by scheduling therapy sessions 2-3 times a week for optimal results.
- Create a calming environment to enhance the overall experience and effectiveness of the therapy.
Understanding Red Light Therapy: The Science Behind It
When you investigate red light therapy, you'll discover it's more than just a trendy wellness fad; it's rooted in solid science.
The mechanism explanation behind it involves specific wavelengths of light penetrating your skin and stimulating cellular activity. This process improves mitochondrial function, which boosts energy production within your cells.
As a result, you experience a significant cellular impact, promoting healing and regeneration.
Benefits of Red Light Therapy for Skin Health
Red light therapy offers a multitude of benefits for skin health that can transform your skincare routine.
You'll love how it promotes skin rejuvenation, giving your complexion a radiant boost. The therapy stimulates collagen production, which helps reduce the appearance of fine lines and wrinkles, providing notable anti-aging effects.
It's like giving your skin a gentle workout, encouraging it for healing and renewing itself. You might notice improved texture and tone, making your skin look healthier and more vibrant.
Plus, it's a non-invasive treatment that fits seamlessly into your life. Accept this innovative approach, and you'll likely feel more confident in your skin, fostering that sense of belonging and community as you share your glowing results alongside others.
Pain Relief and Recovery: How Red Light Therapy Works
While you're reaping the benefits of red light therapy for your skin, it's also making waves in pain relief and recovery. This therapy works by penetrating your skin in order to stimulate cellular repair and reduce inflammation, offering an effective complement alongside traditional pain management techniques.
Imagine:
- Sore muscles relaxing after a tough workout
- Joint stiffness easing through gentle warmth
- Blood flow increasing for speedier healing
- Inflammation decreasing in order to provide soothing relief
- Overall wellness enhancing as you recover
Incorporating red light therapy into your recovery strategies can transform how you manage pain.
It's an empowering tool that connects you with a community seeking effective solutions for healing. Adopt this innovative approach and boost your journey to wellness!
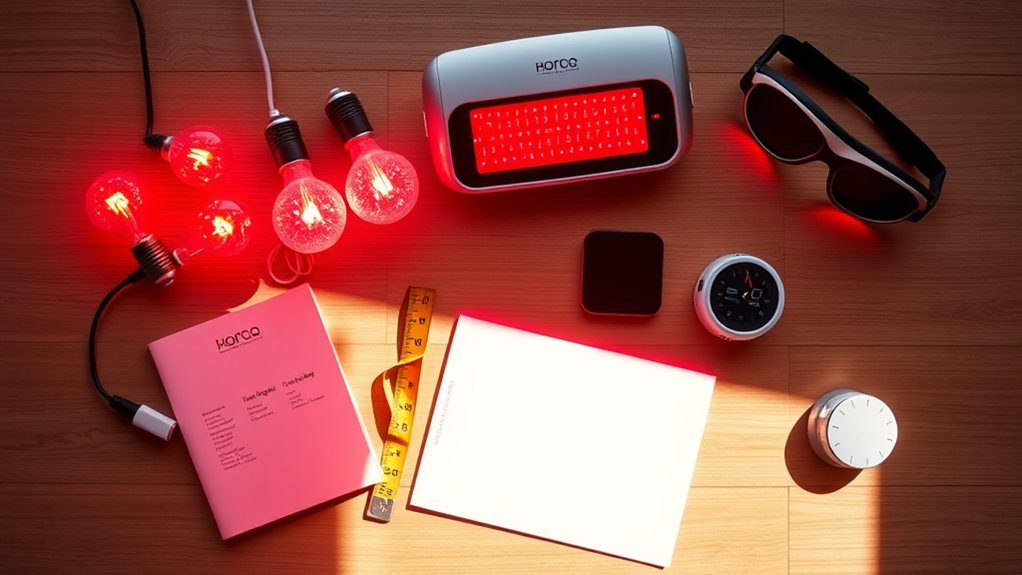
Essential Tools and Materials for DIY Setup
Creating your own red light therapy setup can be an exciting and rewarding project. In order to get started, you'll need some vital DIY tools, like a sturdy frame or stand, and proper wiring.
Material selection is critical—opt for high-quality lights that emit the right light spectrum, typically in the red and near-infrared range, in order to maximize benefits. You'll also need a power source and possibly a timer for convenience.
Selecting high-quality lights that emit the optimal red and near-infrared spectrum is essential for effective red light therapy.
Keep an eye on setup costs; it's easy to overspend if you're not careful. Research options and compare prices to find the best balance between quality and affordability.
Using the right tools and materials, you'll be well on your way to enjoying the advantages of red light therapy at home.
Choosing the Right Red Light Device
Once you've gathered your tools and materials, the next step is selecting the right red light device for your arrangement.
You'll want to evaluate various device types and the specific light wavelengths they emit. Look for devices that suit your needs and fit your space, ensuring you get the most effective therapy.
Here are some options to contemplate:
- Handheld devices for targeted treatments
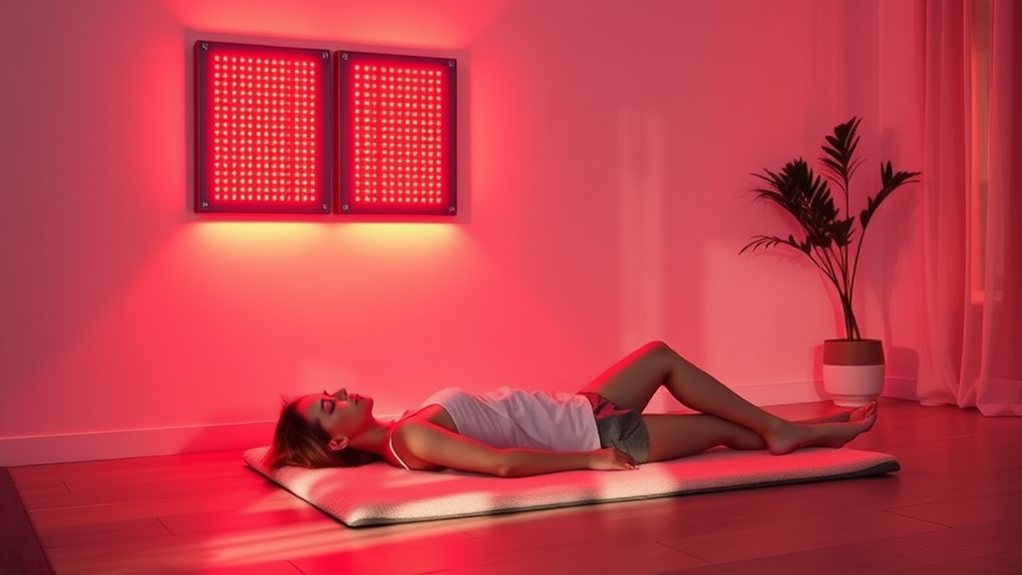
- Panel lights that cover larger areas
- Light beds for full-body exposure
- Wearable devices for convenience
- Portable options for on-the-go therapy
Choosing the right device can improve your experience, making your DIY red light therapy both effective and enjoyable.
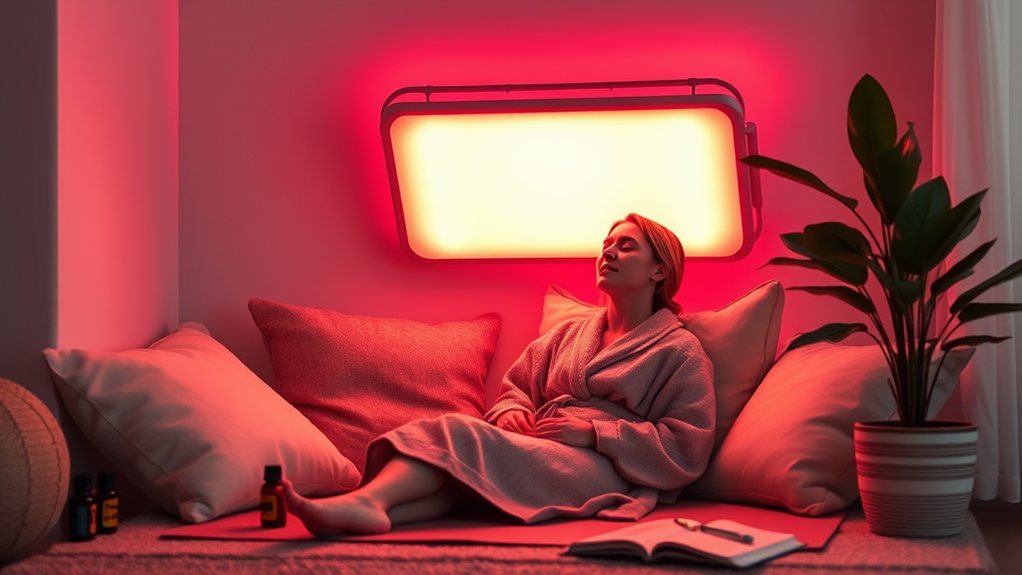
Creating Your Own Red Light Therapy Space
As you commence on your red light therapy journey, setting up a dedicated space can significantly improve your experience and results.
Start by selecting an area that feels comfortable and inviting. Reflect on the lighting placement; you'll want your red light device positioned to maximize exposure while ensuring safety.
Contemplate using soft furnishings or calming colors to elevate the space ambiance, creating a soothing environment where you can unwind. Incorporate elements like plants or calming artwork to foster a sense of belonging and relaxation.
Consider adding soft furnishings and calming colors to create a soothing space, complemented by plants and artwork for relaxation.
This personalized space won't only boost your therapy effectiveness but also make each session a delightful ritual. Remember, a well-thought-out space can transform your therapy experience into a truly enjoyable part of your self-care routine.
Step-by-Step Guide to Setting Up Your Red Light Therapy
Setting up your red light therapy is a straightforward process that can greatly improve your experience.
Let's debunk some therapy myths while you prepare your space for ideal red light effectiveness.
Follow these steps:
- Choose a quiet, comfortable area for your therapy sessions.
- Select the right device that meets your needs—consider LED panels or handheld units.
- Position the light source about 6 to 12 inches from your skin for maximum efficacy.
- Set a timer for 10-20 minutes to guarantee consistent sessions.
- Incorporate soothing elements, like soft music or a cozy blanket, to improve relaxation.
Best Practices for Effective Red Light Therapy Sessions
In order to maximize the benefits of your red light therapy sessions, it's essential to follow some best practices that improve both effectiveness and your overall experience.
First, aim for a session duration of 10 to 20 minutes, as this range is often ideal for most users. Consistency is key, so try to incorporate therapy into your routine several times a week.
Aim for 10 to 20 minute sessions several times a week for optimal red light therapy benefits.
Next, maintain an ideal distance from the light source—usually between 12 to 24 inches—to guarantee you're getting the right intensity without overexposure.
Also, take into account the area you're targeting; exposing larger areas may require adjusting your positioning.
Finally, relax and enjoy the moment! Creating a calming atmosphere can improve your overall experience and boost the benefits of your therapy sessions.
Safety Considerations and Tips for Home Use
While maximizing the benefits of your red light therapy sessions is important, guaranteeing safety during home use is equally essential.
By practicing proper usage and maintaining risk awareness, you can enjoy all the advantages without worry. Here are some tips to keep in mind:
- Keep the device at a safe distance to prevent skin irritation.
- Use protective eyewear to shield your eyes from intense light.
- Limit session duration to avoid overheating and discomfort.
- Confirm your workspace is clutter-free to prevent accidents.
- Regularly check equipment for any damage or wear.
Frequently Asked Questions
Can I Use Red Light Therapy Every Day?
Yes, you can use red light therapy daily. Just guarantee your therapy duration is appropriate—typically 10 to 20 minutes—to avoid overexposure. Consistent use can help you attain the best results for your health goals.
How Long Should Each Therapy Session Last?
For ideal timing, each session duration can range from 10 to 20 minutes. You'll find that consistency is key, so aim for daily use to improve your results and feel part of a vibrant community.
Are There Any Side Effects of Red Light Therapy?
Isn't it reassuring to know most people tolerate red light therapy well? However, some might experience skin reactions or other potential risks. Always prioritize therapy safety by consulting a professional prior starting any new treatment.
What Skin Types Benefit Most From Red Light Therapy?
Red light therapy's great for various skin types. It helps oily skin alongside acne scars, dry skin for eczema relief, sensitive skin for rosacea treatment, and aging skin by reducing hyperpigmentation. You'll see improvements!
Can I Combine Red Light Therapy With Other Treatments?
Yes, you can combine red light therapy alongside other treatments. Many people find that combination therapies improve treatment efficacy, leading to better results. Just make sure you consult a professional to create a safe, effective plan for yourself.
Conclusion
Incorporating DIY red light therapy into your routine can transform your home into a rejuvenating oasis, where every session feels like basking in the sun's warm hug. Through the right setup, you'll release a wave of healing energy that dances over your skin, melts away pain, and revitalizes your spirit. So, grab your materials and create your own radiant sanctuary—your body will thank you as it glows with health and energy like never before!